I know what you're thinking... Risotto? I know that you don't have time to be slaving over a hot stove, stirring endlessly while your dinner comes together. This is a much quicker, yet still super delicious, method... and I know you'll like it.
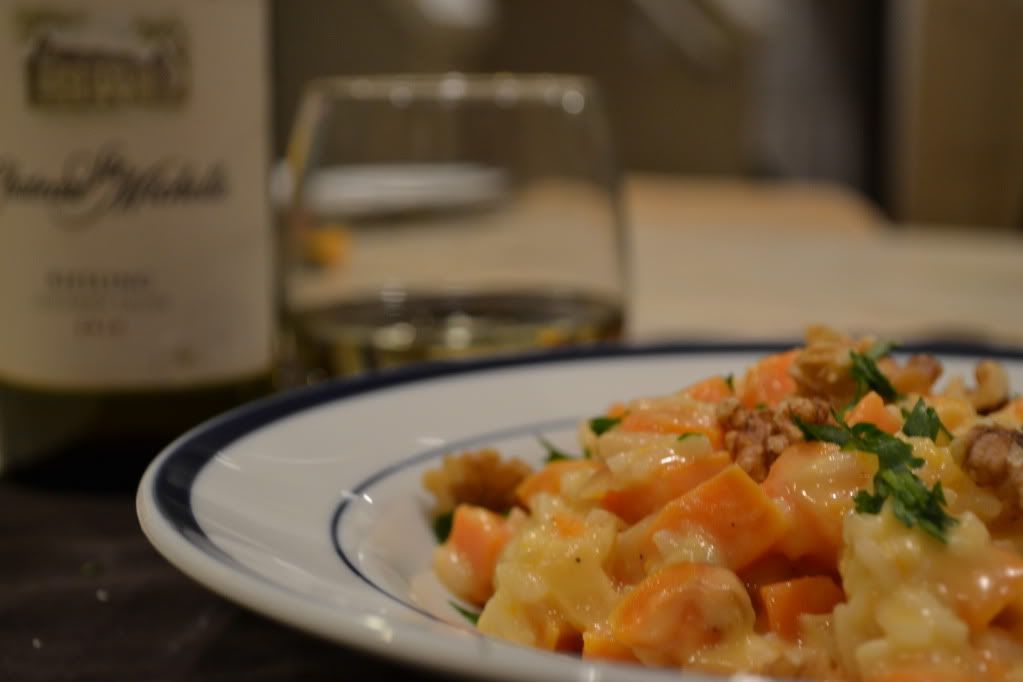
Sweet Potato Risotto
Yield: 4 servings
Ingredients
2 Tbsp butter
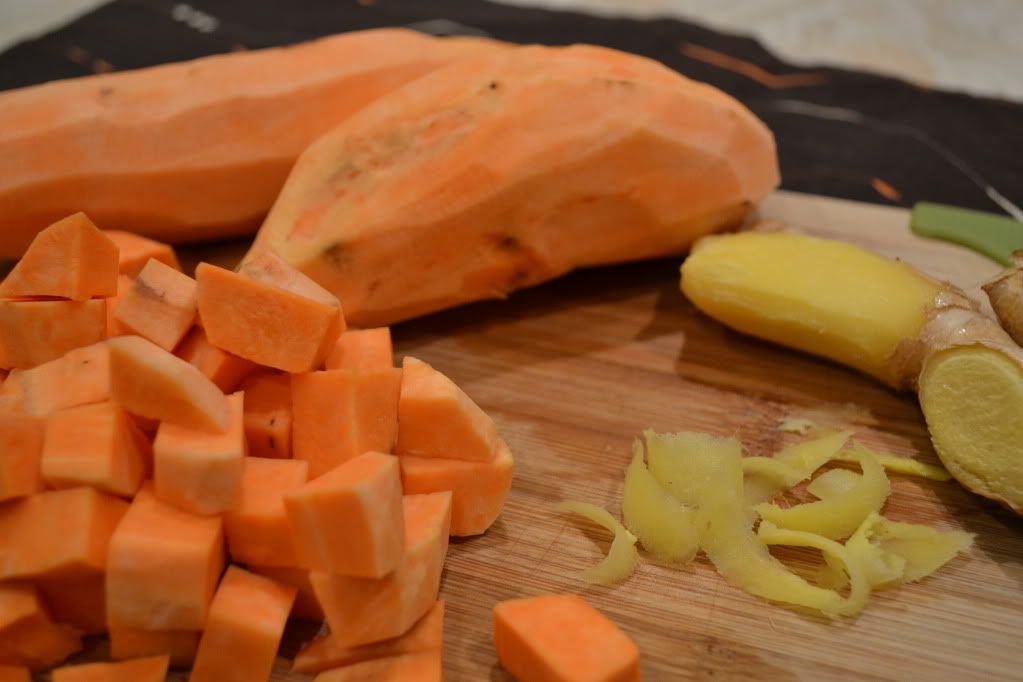
1lb sweet potatoes, peeled and cut into 1/2" pieces
1 onion, finely chopped
1/4 tsp minced, peeled fresh ginger
2/3 cup arborio rice
1/4 cup riesling wine (save the rest for drinking!)
2/3 cup mascarpone cheese
1/4 cup toasted walnuts, roughly chopped
1/4 cup chopped flat-leaf parsley
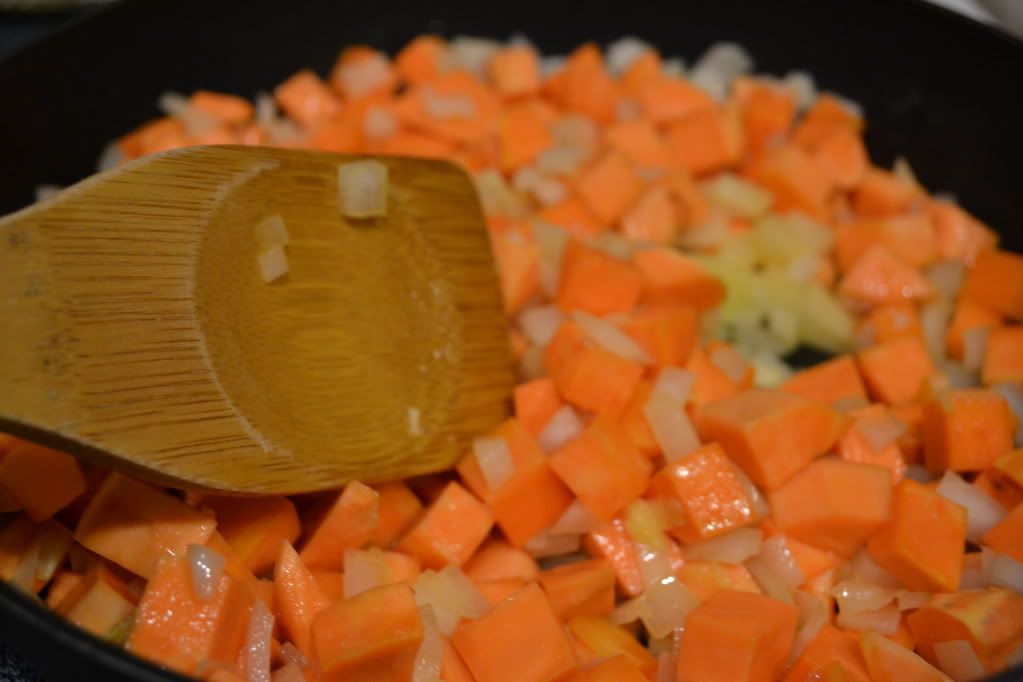
Melt butter in a large skillet over medium-high heat. Add sweet potatoes, onion and ginger; saute approximately 15 minutes, until sweet potatoes are tender.
Remove from heat.
Cook rice in a small sauce pan of salted water or vegetable stock until just tender, but still firm to the bite, stirring frequently for about 15 minutes.
Drain rice.

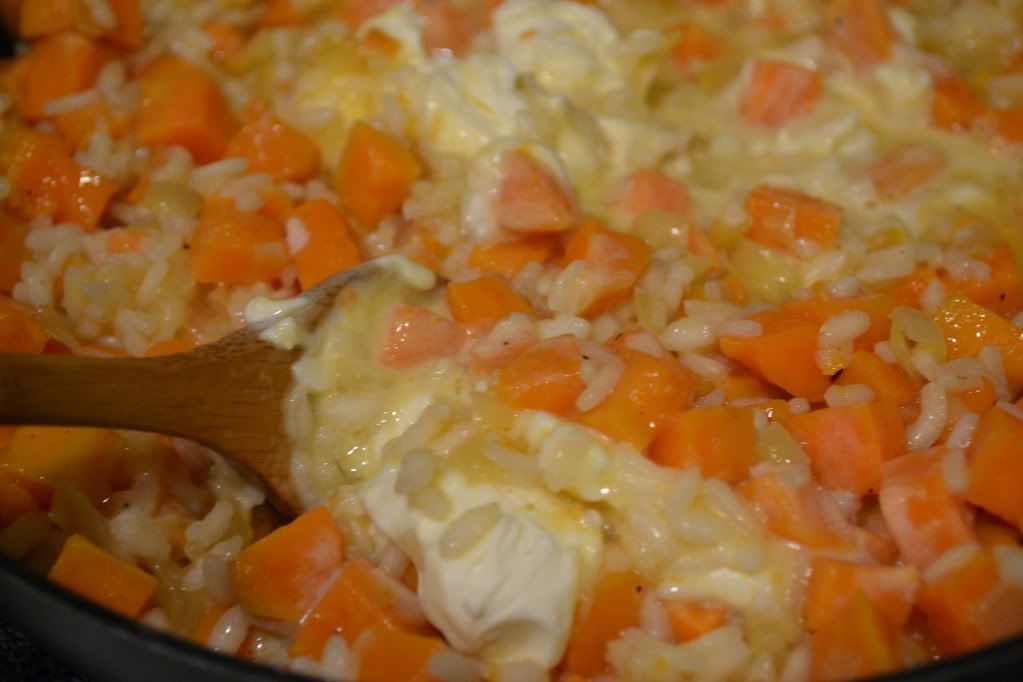
Add rice to sweet potato mixture. Add riesling and stir over medium-low heat until blended. Stir in mascarpone until melted. Season with salt and pepper.
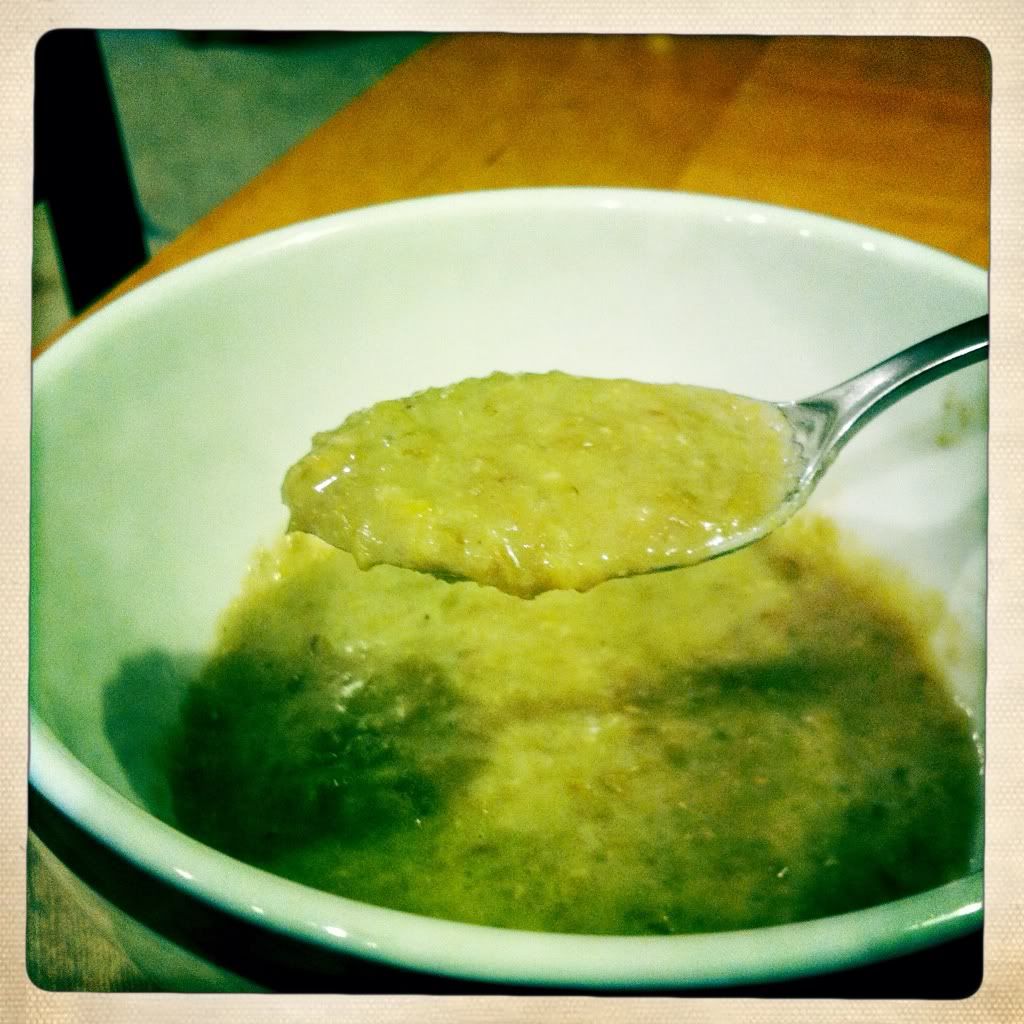
Spoon risotto into bowls and top with parsley and toasted walnuts.

Enjoy!