
You can stop holding your breath now. The moment you have been waiting for has finally arrived... :::drumroll, please:::

Peach Vanilla Bean Jam, in all its glory, was finally made this evening. I didn't read the recipe very closely, which made for a few oh-crap-I'm-going-to-ruin-this-recipe moments, but I'm pretty sure that it all turned out just fine in the end. I didn't have enough white sugar, so I was forced to use some brown sugar as a substitute. It still tasted pretty darn good, and the brown sugar lends a nice rich flavor. Mmm. A much greater success than last night's awful "muffins" (blech).
Now, before you start your jam, I'll show you my quick and easy peach-peeling method. When you need to get the skin off of 3lbs of peaches, and you don't want to lose any of that precious fruit, this is definitely the way to go. Starting with rinsed peaches, slice an X right at the base of the fruit. Place the peach in boiling water for 60 seconds, then remove.
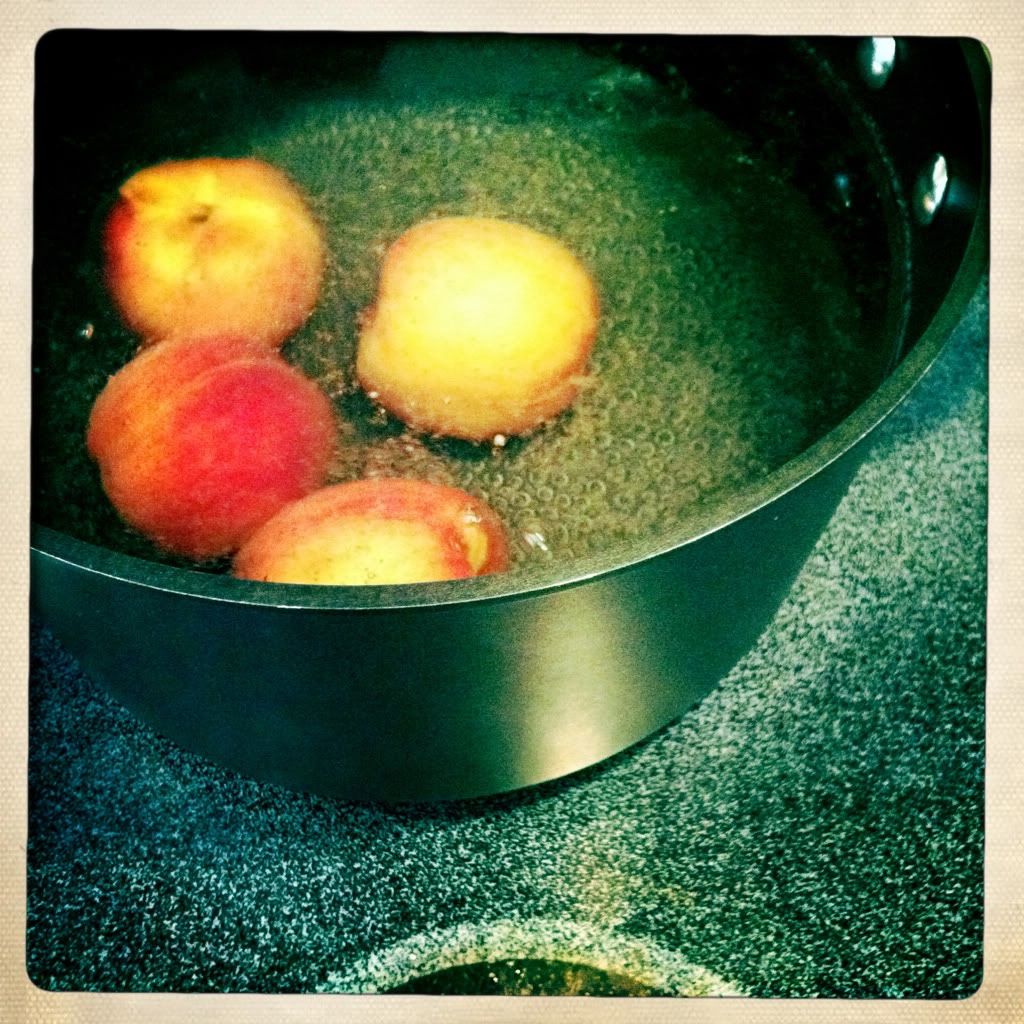
Place it immediately in a water bath, so it can chill out a little bit.

Now, your peaches' skins will slip right off. How easy was that?
This recipe has been posted on two blogs that I really enjoy - and you might, too. Take a peek at Tartlette and Annie's Eats for more delicious inspiration.
Peach Vanilla Bean Jam
Yield: about 4 cups (original recipe said 8 cups, but mine didn't yield nearly that much)
Ingredients:
Ingredients:
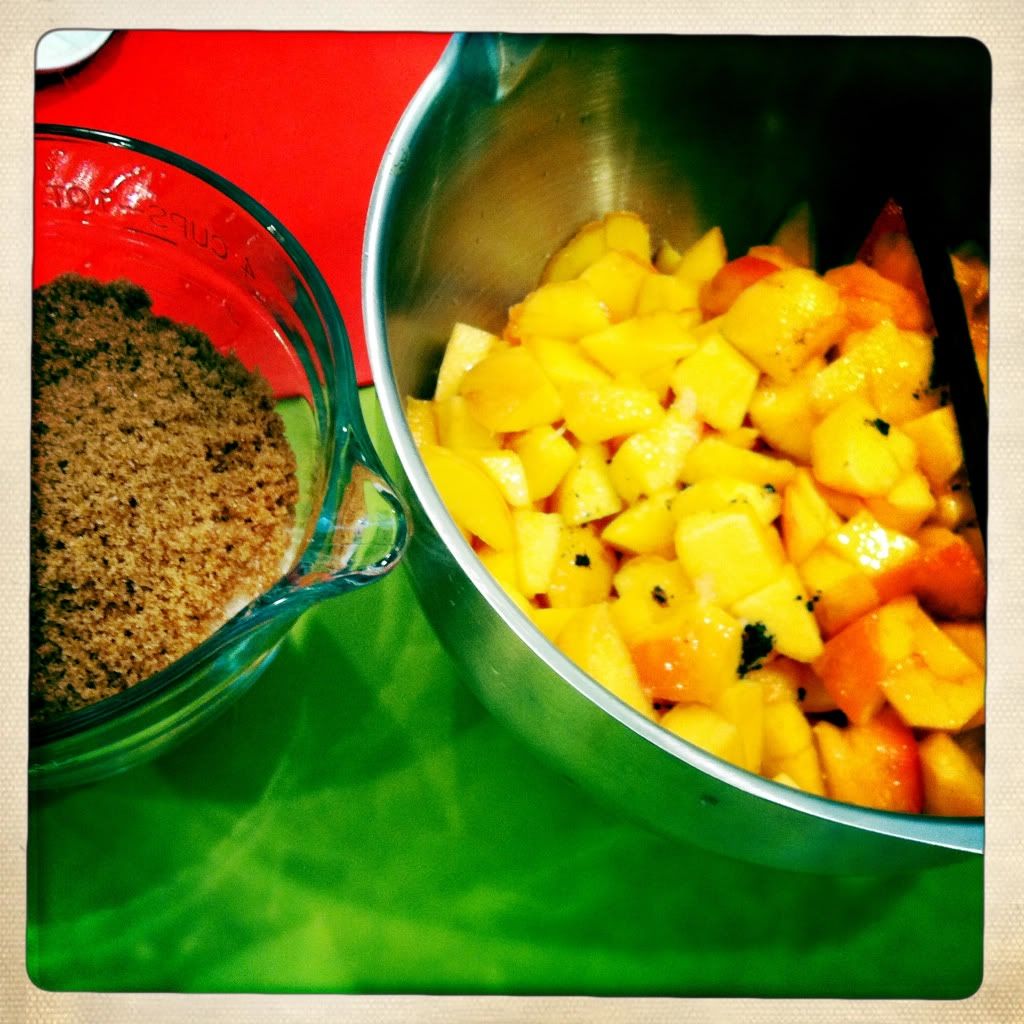
3 lbs. ripe peaches, peeled, pitted and coarsely chopped
2½ cups sugar
1/2 cup brown sugar (check out the original recipe if you want all white sugar)
1-2 vanilla bean(s), halved lengthwise, seeds scraped out (I used one)
Juice of 1 lemon
2½ cups sugar
1/2 cup brown sugar (check out the original recipe if you want all white sugar)
1-2 vanilla bean(s), halved lengthwise, seeds scraped out (I used one)
Juice of 1 lemon
Directions:
In a large stockpot or Dutch oven, combine all ingredients (including vanilla bean seeds and pods) over medium heat. Bring the mixture to a boil. Reduce the heat to a simmer and cook, stirring occasionally, until the fruit is partially caramelized with a dark orange color (it'll be even darker, obviously, if you use brown sugar). This took about 2 hours for me, but I think I had the heat on a little too low. Discard the vanilla bean pods. Get ready for some delicious jam!
Are you going to be canning this jam? Well, I hope you know how! Make sure you have sterilized your jars and lids, and use your preferred method of canning. Need some help on this? Check out this fantastic guide to canning. I just put my jam in sterilized jars for immediate consumption, so I didn't have to go to the trouble to properly seal it up. This stuff is tasty, so it is likely to get eaten up pretty quickly. I'll be using it as a topping for pancakes, baked oatmeal, and hopefully will be mixing it up with some homemade ice-cream.
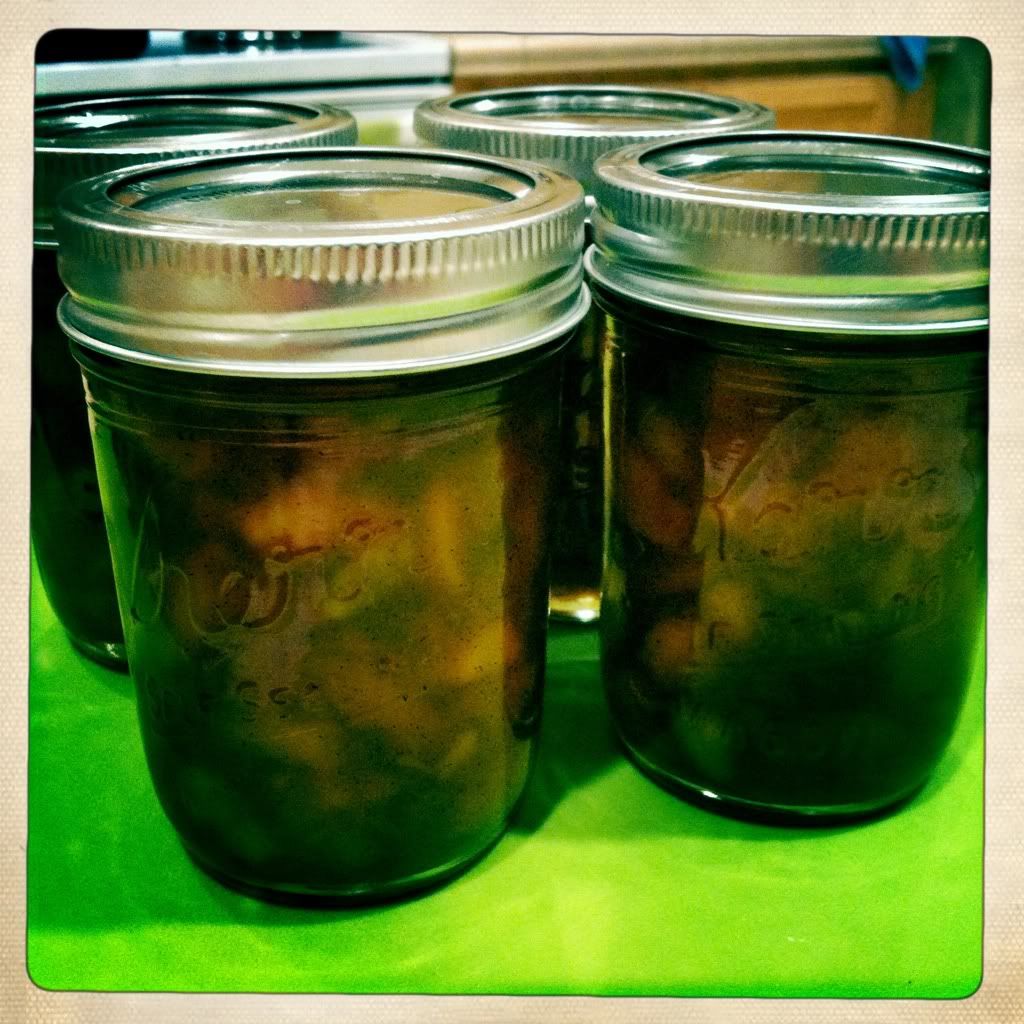
Now I get to check jam-making off of my bucket list!


No comments:
Post a Comment